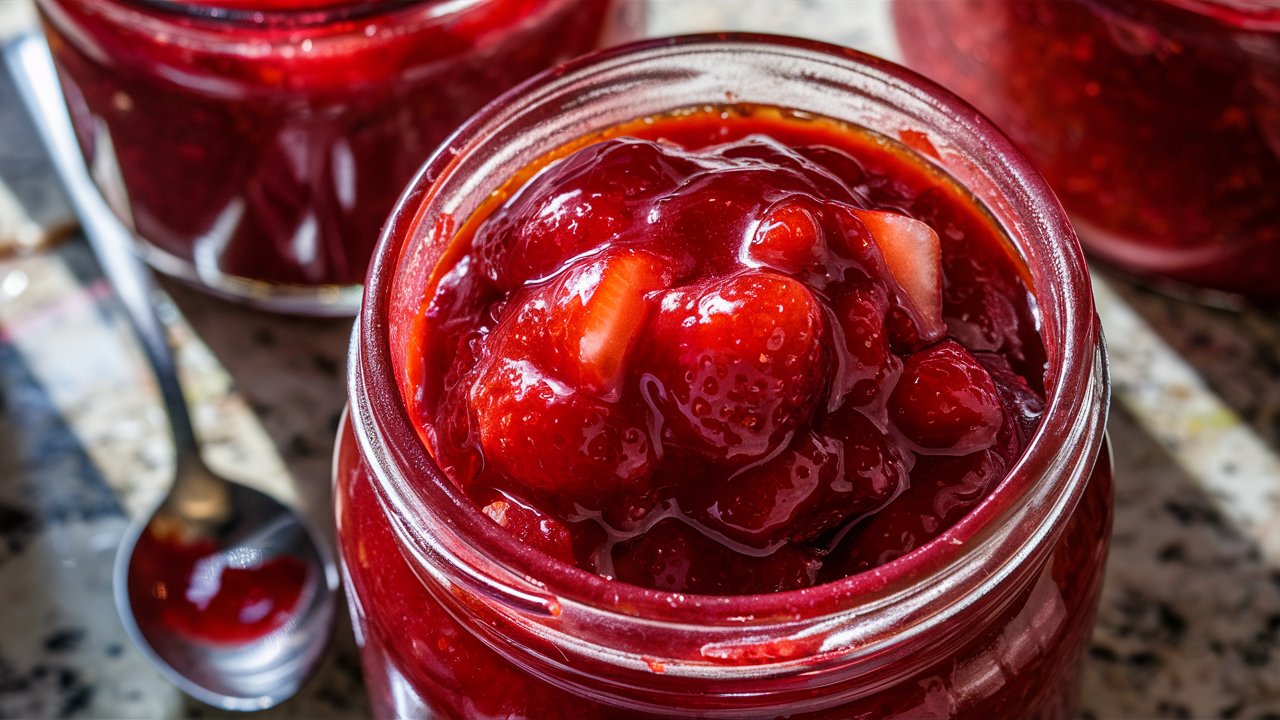
Imagine waking up to the sweet, enticing aroma of freshly made Homemade Strawberry Jam. This delightful spread, with its vibrant color and rich flavor, is perfect for brightening up your breakfast table. Whether slathered on toast, swirled into yogurt, or used as a topping for pancakes, this strawberry jam recipe is bound to become a household favorite. Best of all, it’s made without pectin, relying on the natural pectin in the fruit and a touch of lemon juice to achieve the perfect consistency.
History of Strawberry Jam:
Strawberry jam has been a beloved staple in kitchens around the world for centuries. The origins of jam-making date back to the Middle Ages when sugar was first introduced to Europe. Preserving fruits with sugar quickly became a popular method for extending the shelf life of seasonal fruits. In the early 19th century, strawberries were cultivated more widely, and recipes for strawberry preserves and jams began to appear in cookbooks, marking the beginning of its journey into our hearts and onto our tables.
Serving Suggestions For Strawberry Jam:
This strawberry jam is wonderfully versatile and can be enjoyed in numerous ways:
- Spread generously on warm, buttered toast or fresh scones.
- Add a dollop to your morning oatmeal or yogurt for a burst of flavor.
- Use as a filling for homemade pastries or thumbprint cookies.
- Pair with a creamy brie or sharp cheddar for a delightful contrast on a cheese platter.
- Top off your favorite ice cream or pancakes for an extra special treat.
Storing Instructions For Strawberry Jam:
To keep your strawberry jam fresh and delicious:
- Refrigeration: Store the jam in an airtight container in the refrigerator for up to 10 days.
- Freezing: For longer storage, freeze the jam. Transfer the cooled jam to a freezer-safe container or bag, leaving some space for expansion, and store for up to one year. Thaw in the refrigerator before using.
Reheating Instructions:
While strawberry jam is typically enjoyed cold or at room temperature, if you prefer to warm it:
- Microwave: Place the desired amount in a microwave-safe bowl and heat in 10-second intervals, stirring between each interval until it reaches the desired temperature.
- Stovetop: Heat the jam in a small saucepan over low heat, stirring occasionally until warmed through.
How To Make Strawberry Jam Recipe – Easy Step-by-Step Guide

Delicious Homemade Strawberry Jam Recipe – Easy Step-by-Step Guide
Ingredients
Method
- Combine Ingredients: In a heavy-bottomed saucepan, mix together the strawberries, sugar, and lemon juice.
- Heat and Dissolve Sugar: Stir the mixture over medium-low heat until the sugar is dissolved.
- Boil and Reduce: Increase the heat to medium-high and bring the mixture to a rolling boil. Stir frequently, mashing the strawberries as you stir, until the jam is thickened and bubbles completely cover the surface of the jam (about 10 minutes).
- Cool and Store: Transfer the jam to a jar and let it cool to room temperature. Seal the jar and store it in the refrigerator for about 10 days or freeze it for longer storage.
Notes
- Choosing Strawberries: Select ripe, firm strawberries that are sweet and free from any soft spots or bruises. This ensures a better flavor and texture for your jam.
- Sugar Ratio: The ratio of sugar to strawberries in this recipe helps in achieving the desired consistency and preserves the jam naturally. Adjust sweetness according to your preference, keeping in mind that sugar also acts as a preservative.
- Lemon Juice: Freshly squeezed lemon juice not only adds a pleasant tangy flavor but also helps with the setting of the jam due to its natural pectin content. It also balances the sweetness of the strawberries.
- Cooking Process: Stir frequently during the cooking process, especially once the mixture comes to a boil. This helps prevent sticking and ensures even cooking. Mashing the strawberries slightly with a spoon or potato masher as they cook helps release natural pectin and creates a chunkier texture.
- Testing for Doneness: To test if the jam has reached the desired consistency, place a small amount on a chilled plate or spoon. It should gel and wrinkle slightly when pushed with your finger.
- Storage: Transfer the cooled jam into clean, sterilized jars with tight-fitting lids. Store in the refrigerator for up to 10 days or freeze for longer storage. Make sure to leave some headspace in the jars if freezing.
- Customization: Feel free to customize your jam by adding other flavors like vanilla bean or spices such as cinnamon. Adjust flavors and sweetness to suit your taste preferences.
- Altitude Adjustment: If you’re cooking at a higher altitude, reduce the final cooking temperature slightly to ensure the jam sets properly.
Conclusion:
We hope you enjoy making and savoring this delicious strawberry jam as much as we do. Share your experiences and creative uses for this jam in the comments below! Don’t forget to transfer your cooled jam into clean mason jars with tight-fitting lids for storage. Your feedback and stories are what make our community so special!
Read more: Paw-some Peanut Butter Pumpkin Dog Cake


