Introduction
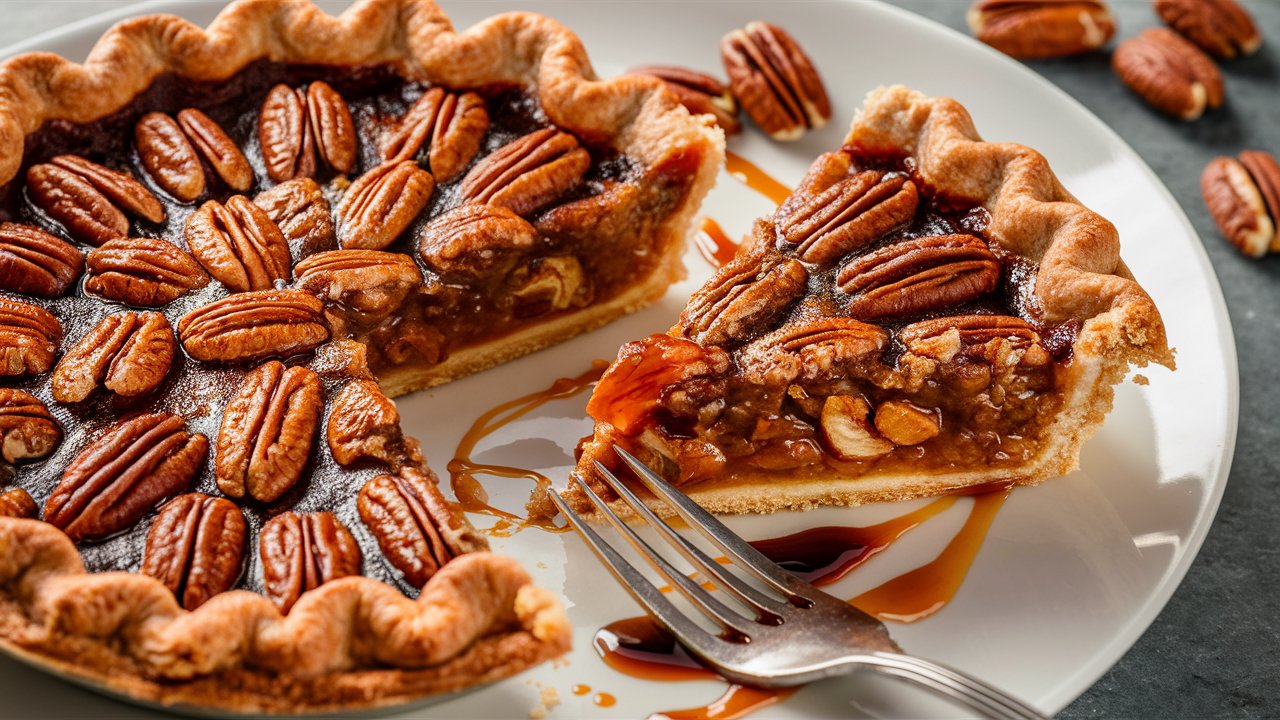
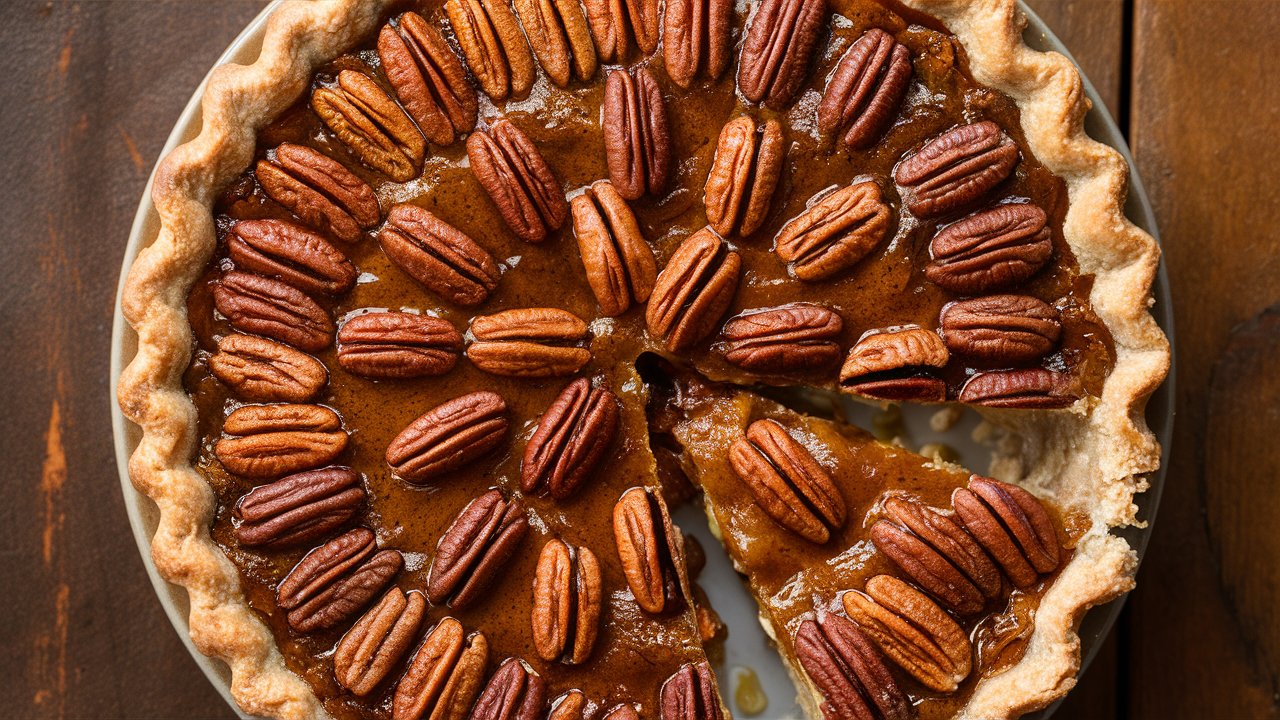
My Pecan Pie Recipe. Today, we’re baking a timeless classic pecan pie. With its rich, gooey filling and crisp, nutty topping, this dessert is a favourite for festive gatherings and special occasions. The delightful combination of light and dark corn syrups adds depth, while the chopped pecans form a delectable, crunchy layer on top. Whether you serve it with whipped cream or a scoop of vanilla ice cream, this pecan pie is sure to impress your family and friends.
History
Did you know that pecan pie is believed to have its roots in the early 1800s? Pecan trees are native to North America, and indigenous peoples were among the first to harvest and consume pecans. The pie as we know it today gained popularity in the early 20th century, particularly in the southern United States. It’s often associated with holiday traditions, especially Thanksgiving and Christmas. The recipe has evolved over the years, but the essential ingredients remain the same, making it a beloved dessert across generations.
Serving Suggestions For Pecan Pie
Pecan pie is a versatile dessert that pairs well with various accompaniments. For a classic touch, serve slices with a dollop of freshly whipped cream or a scoop of creamy vanilla ice cream. If you want to add a bit of sophistication, drizzle some caramel or chocolate sauce over the top. For a balanced flavour, pair it with a strong cup of coffee or a glass of bourbon. You can also garnish with a sprinkle of sea salt to enhance the nutty flavours of the pie.
Storing Instructions For Pecan Pie
To keep your pecan pie fresh, store any leftovers in an airtight container in the refrigerator. It will stay delicious for up to four days. If you need to store it for a longer period, you can freeze the pie. Wrap it tightly in plastic wrap, then in aluminium foil, and place it in a freezer-safe container. The pie can be frozen for up to three months. When you’re ready to enjoy it, thaw the pie in the refrigerator overnight.
Reheating Instructions
To reheat your pecan pie, preheat your oven to 180°C (350°F). Place the pie in an oven-safe dish and cover it loosely with foil to prevent the crust from over-browning. Heat the pie for 10-15 minutes, or until warmed through. If you’re reheating individual slices, you can use a microwave. Heat each slice on a microwave-safe plate for about 20-30 seconds, checking to ensure it doesn’t overcook.
How To Make Pecan Pie
Classic Pecan Pie Recipe: A Deliciously Rich and Nutty Dessert
Ingredients
Method
- Preheat oven to 350°F.
- In a large bowl, whisk together the granulated sugar, brown sugar, salt, corn syrups, vanilla, and melted butter until smooth.
- Add the eggs and whisk until fully incorporated.
- Stir in the pecans.
- Pour the filling into the unbaked pie crust. Arrange a few extra pecan halves on top if desired.
- Bake for 45-55 minutes, until the center is almost set. The pie should be slightly jiggly in the center when done.
- If the crust or pecans start browning too quickly, loosely cover with foil.
- Allow to cool completely, at least 2 hours, before slicing and serving. Refrigerate leftovers.
Notes
- Use a homemade or store-bought unbaked 9-inch pie crust
- Toast the pecans for 3-5 minutes before adding to the filling for extra flavor
- Bake at 425°F for 10 minutes, then reduce to 350°F for the remaining 40-50 minutes
- The pie is done when the center is almost set and only slightly jiggly
- Allow the pie to cool completely, at least 2 hours, before slicing and serving
Equipment Needed for Pecan Pie:
9-inch Pie Pan: Essential for baking your pecan pie; ensures even baking and easy removal.
Mixing Bowls: Needed for combining and whisking ingredients.
Whisk: Used for mixing and beating ingredients like eggs and syrups.
Measuring Cups and Spoons: For accurate measurement of sugars, corn syrups, and other ingredients.
Pie Weights: Optional but useful for blind baking the pie crust to prevent it from puffing up.
Conclusion
We hope this pecan pie brings warmth and joy to your gatherings. We’d love to hear how it turned out for you! Share your thoughts and variations in the comments below, and don’t forget to subscribe for more delicious recipes. Happy baking!
FAQ
Can I use dark corn syrup only instead of a mix of light and dark?
Yes, you can use only dark corn syrup if you prefer a deeper, more robust flavour. The mix of light and dark corn syrups balances the sweetness and adds complexity to the pie.
What can I substitute for corn syrup if I don’t have any?
If you don’t have corn syrup, you can use a combination of honey and maple syrup. This will alter the flavour slightly but still provide the necessary sweetness and consistency.
Can I make pecan pie ahead of time?
Absolutely! Pecan pie can be made a day or two in advance. Store it in the refrigerator and bring it to room temperature before serving for the best taste and texture.
Is it necessary to refrigerate pecan pie?
Yes, due to the egg content in the filling, it is best to refrigerate pecan pie to keep it safe and fresh.
Enjoy your baking adventure here is a wonderful
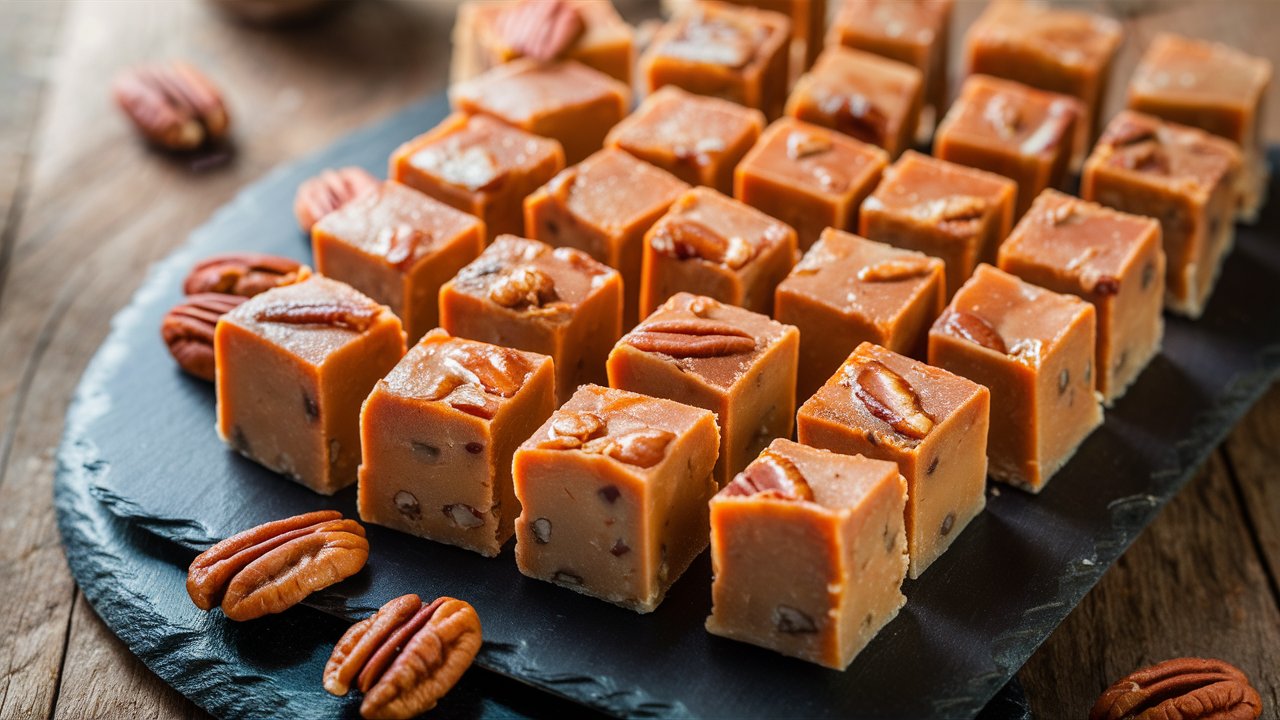
Here is my Butter Pecan Fudge Recipe – Perfect Holiday Treat